1. Download And Extract
Choose a package from the Nexus v1 download page and extract the complete DS4Windows Nexus x64 folder.
- Compact app: requires Microsoft .NET 10 Desktop Runtime (x64). Open DS4Windows.exe.
- First-run bundle: includes the official Microsoft runtime installer. Run First Run.cmd; it installs the runtime if missing, then starts Nexus.
Do not run the app inside the ZIP or copy only its executable. No .NET SDK is required. The Windows app is currently unsigned. Matching source and checksums are separate links on the download page.
2. Select Controllers And Check Your PC
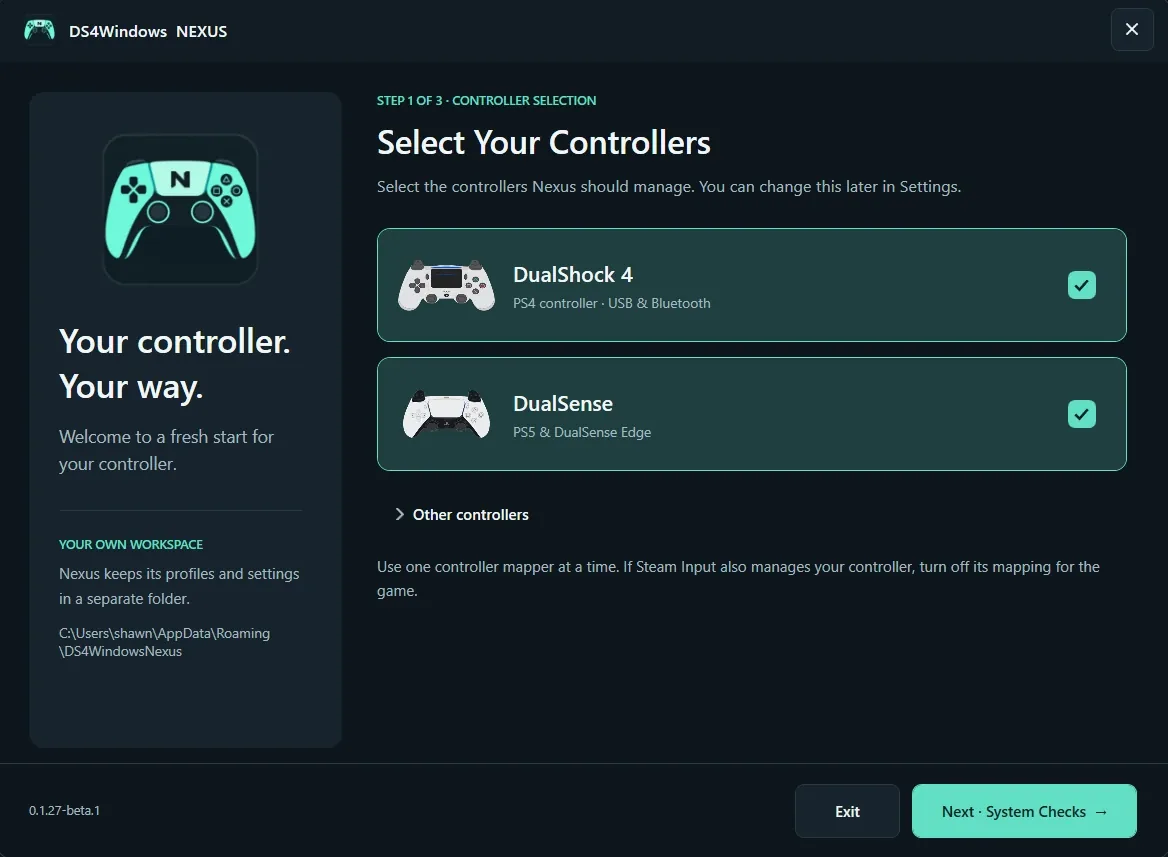
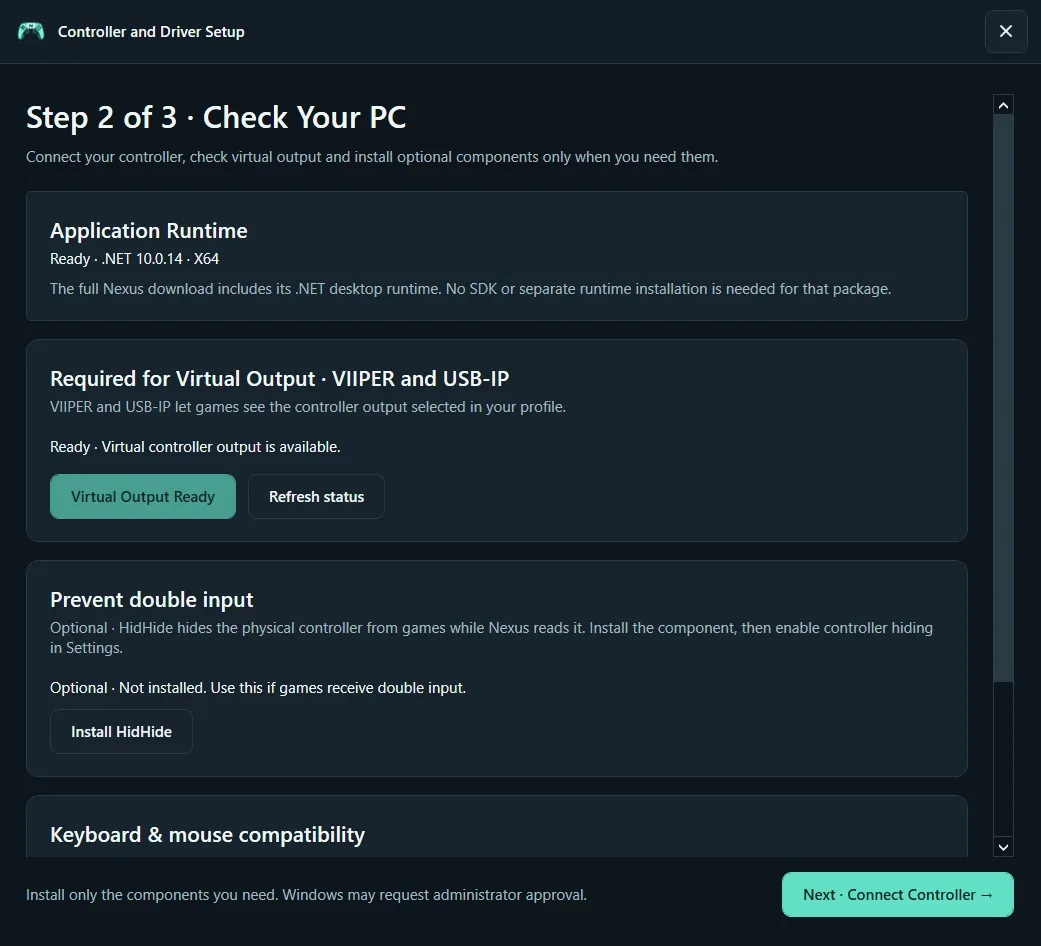
Select the controller families you want Nexus to read. Continue to Check Your PC. VIIPER/USB-IP is required for virtual controller output. Use the explicit install/repair action only when the check says it is needed.
HidHide helps avoid double input, but installation must be followed by hiding configuration that still allows Nexus to read the controller. FakerInput is an optional keyboard/mouse output method. DS3 needs its separate drivers. See Drivers for the differences.
If Windows requests a restart, restart before testing. Interrupted onboarding resumes. Limited mode lets you inspect settings when the virtual backend is unavailable; it does not prove game output works.
3. Connect And Test
USB
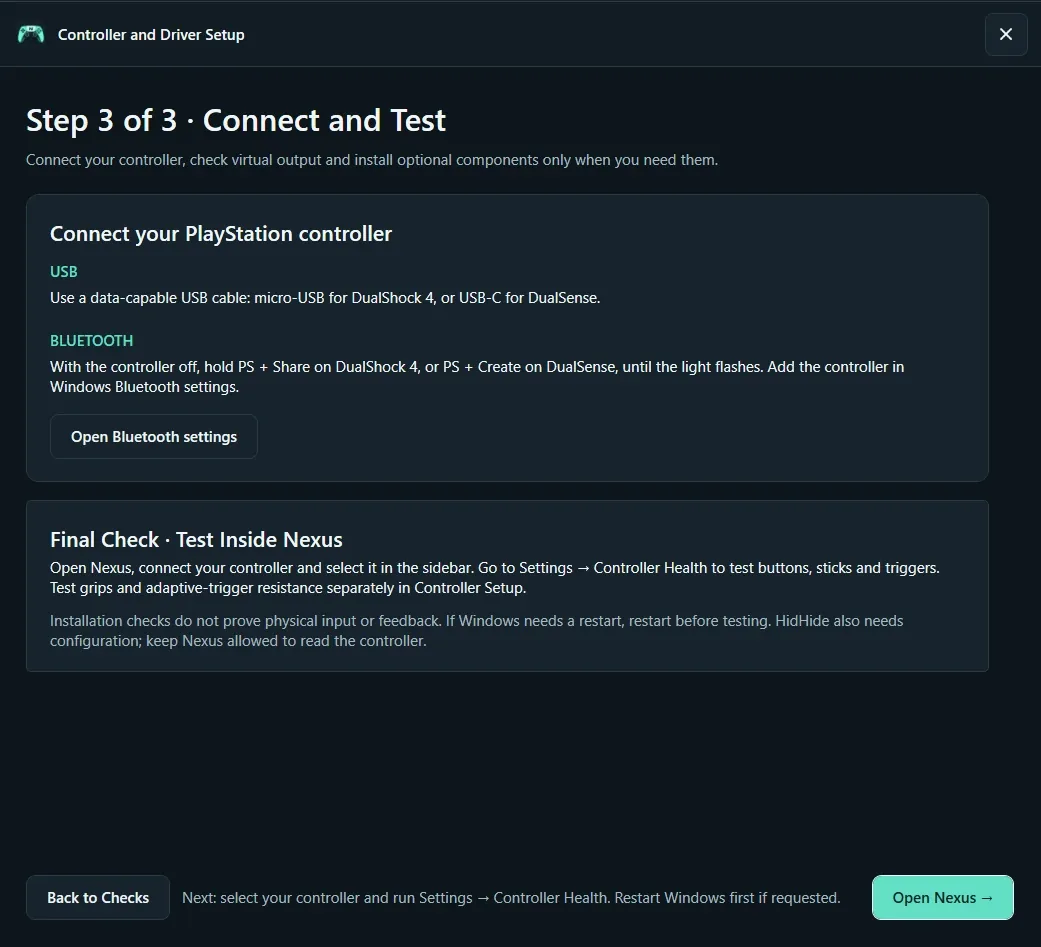
Use a data-capable cable: micro-USB for DS4, USB-C for DualSense/Edge. Power or charging alone does not prove a data connection.
Bluetooth
With the controller off, hold PS + Share on DS4, or PS + Create on DualSense, until flashing. Pair in Windows Bluetooth settings, then return to Nexus. DS3 follows a different driver-assisted pairing procedure.
Start the Nexus service if needed. Once detected, select your controller in the sidebar. Open Settings → Controller Health to test buttons, sticks and trigger input. Test grips and adaptive resistance separately in Controller Setup.
4. Create Your First Profile
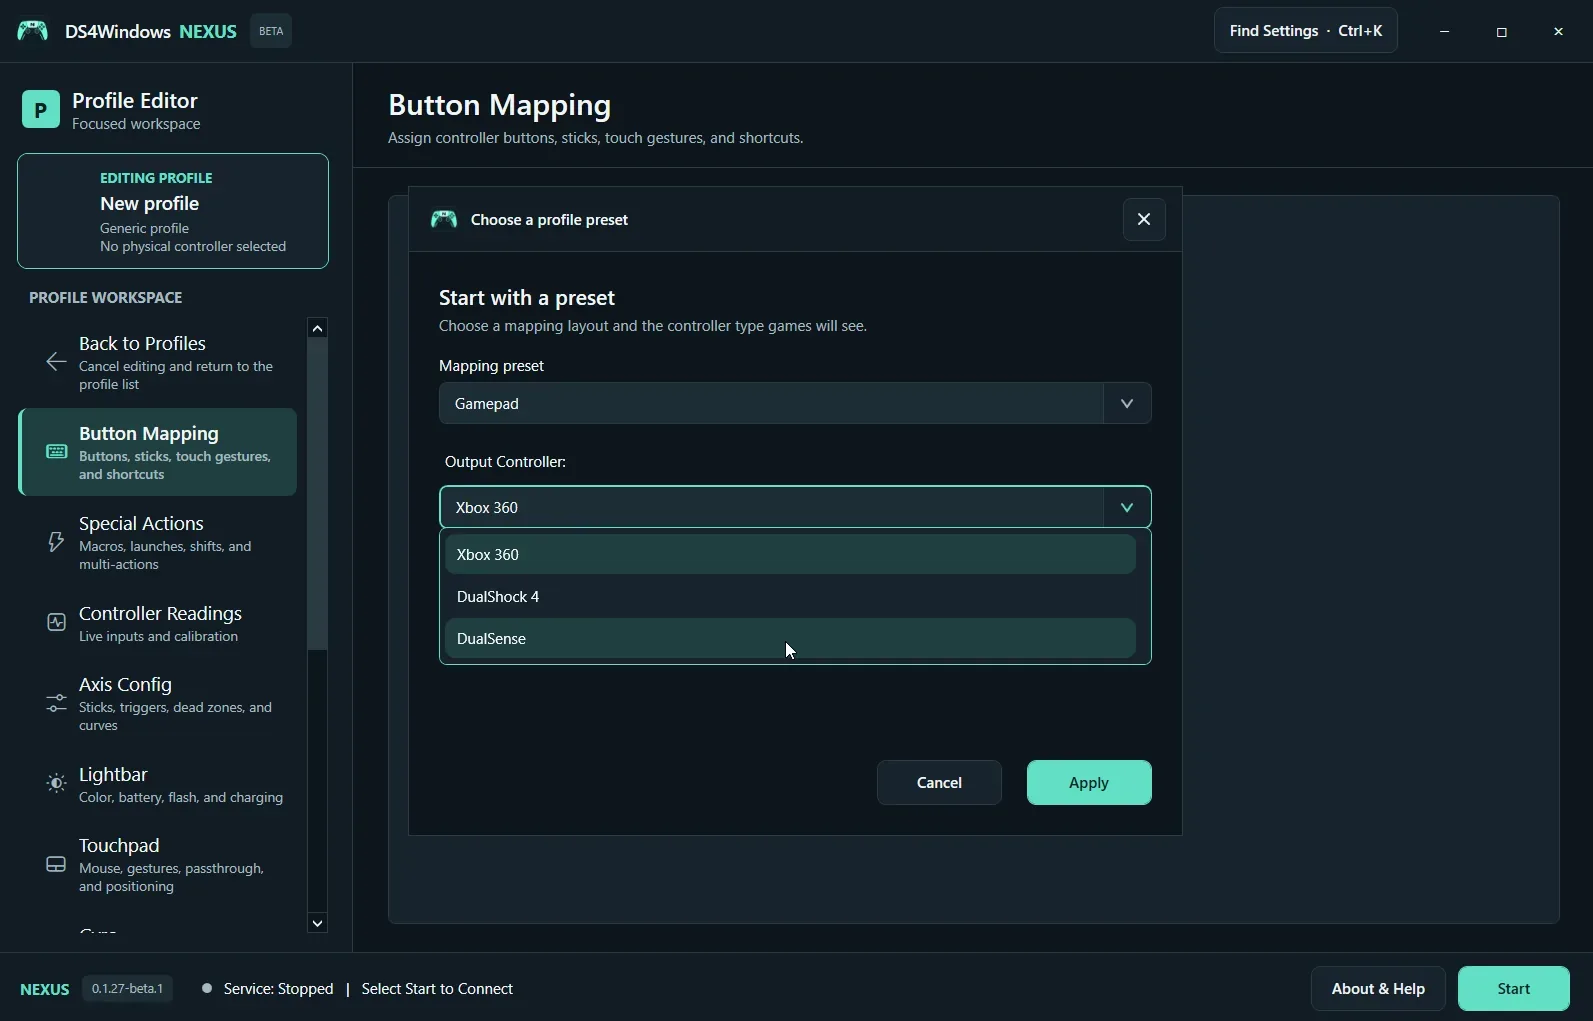
- Select a controller and open Profiles. Create a profile or duplicate a saved one.
- Change one mapping at a time, test the result and save.
- Apply saves and keeps the editor open; Save saves and closes. Cancel discards pending profile edits, but some controls preview immediately. Shared Special Actions are stored separately.
- For game switching, use Game Library or the game wizard to choose the actual executable and review the Auto Profiles rule.
If something is missing
Use controller detection checks for a missing physical controller. Use virtual output checks when Nexus sees it but the game does not. Installation readiness is not a physical input or feedback test.